Dealing with a leaking blender base can be frustrating. Many home chefs encounter this issue at some point. It's essential to know how to fix a leaking blender base effectively. A leaking blender not only creates a mess but can also affect the performance of your appliance.
Understanding the causes of leakage is crucial. Often, it may result from worn-out seals or misaligned components. Identifying the source of the problem can save time and money. You don’t need to be a professional to perform these repairs. With the right approach, anyone can tackle this issue.
In this guide, we will explore practical steps to address the problem. Expect to find actionable solutions that restore your blender’s functionality. Remember, taking care of your appliance is key to ensuring its longevity. Let’s dive into some simple fixes for a blender that’s leaking.
Blender base leaks are often caused by a few common issues. Wear and tear on seals can let liquid escape. Over-tightening can cause cracks, leading to leaks. Additionally, food debris can get stuck, which compromises the seal's integrity. Regular checks are vital to identify these problems early.
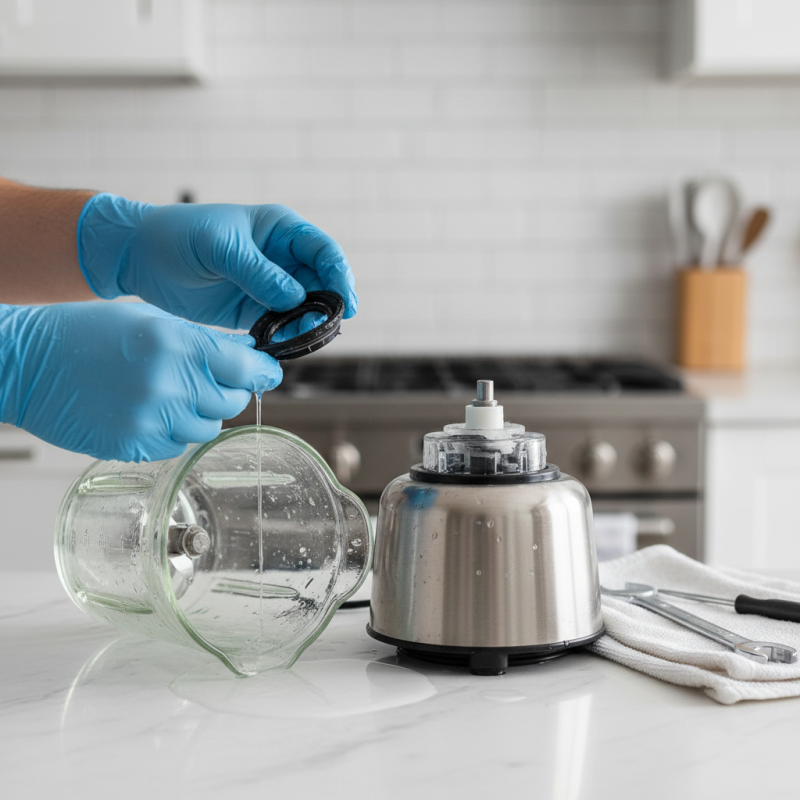
To prevent leaking, consider these tips. Always clean the gasket regularly and inspect it for wear. If it appears damaged, replacing it can help. Avoid excessive pressure when assembling the blender. Take time to align the parts properly during assembly. Use moderate force to secure the base.
If your blender still leaks after these adjustments, reflect on how often you use it. Frequent blending may require more regular maintenance. Small adjustments can lead to better performance and less mess. Gaps in knowledge can cause longer-term issues, so staying informed helps you maintain your appliance effectively.
When your blender leaks, fixing it may seem daunting. However, having the right tools can simplify the repair process. Basic tools include a screwdriver set, pliers, and a sealant. These common items can often resolve minor leaks caused by worn seals or loose screws.
Tips: Always check for loose screws first. It’s a quick fix that can save you a lot of trouble. Next, examine the rubber seals. Over time, they can degrade and cause leaks. Consider replacing them if they appear cracked or brittle.
Maintaining your blender is essential for longevity. Regularly clean the base and look for any signs of wear. Preventive care can help you avoid significant issues down the road. Remember, even small leaks can lead to bigger problems if ignored. Keeping an eye on your appliance helps ensure it operates efficiently.
Disassembling the blender base can seem daunting, but it’s a manageable task with the right approach. Begin by unplugging the blender to ensure safety. Remove the jar and carefully examine the base. Most blenders have screws or clips holding the base together. Identify these and gather the appropriate tools, usually a screwdriver.
Once you have unscrewed the screws, gently pry apart the base. Be cautious; some parts might be stubborn. You might need to apply some force, but avoid using excessive pressure to prevent breaking plastic components. Pay attention to the order and orientation of the parts as you disassemble them. This will make reassembly easier later.
Tips: Keep a small container nearby to hold screws. It prevents loss and confusion during reassembly. Take pictures of the assembly process if you can. Visuals provide a reference when putting everything back together. Reflect on the condition of seals and gaskets. Replacing worn-out seals is crucial in preventing further leaks. Small details can make a big difference.
A leaking blender base can be frustrating. Often, the problem lies in damaged gaskets. These rubber seals prevent liquids from escaping during blending. Over time, they can wear out, twist, or crack, resulting in leaks. Replacing or sealing them is essential for restoring your blender’s function.
To seal damaged gaskets, first remove the base cover. Carefully inspect the gasket for any visible signs of wear. If it's simply misplaced, reposition it properly. For small cracks, using food-safe silicone may help. Apply a thin layer and let it cure. However, this fix might not last forever. If the damage is severe, consider replacing the gasket entirely.
Before purchasing a new gasket, measure the old one precisely. An incorrect size can lead to further leaks or issues. When installing the new gasket, ensure it fits snugly in the groove. Clean any residue in the area, as this can affect the seal. Remember, even minor imperfections can lead to significant problems down the line.
Preventing leaks in a blender base is crucial for longevity and safety. One significant cause of leaks is worn-out gaskets. Regularly inspecting these components can reduce issues. According to a 2022 report by a leading appliance research firm, 37% of blender failures are linked to seal degradation. Applying food-grade silicone lubricant can extend their life, but users should always follow manufacturer guidelines.
Another common issue is the improper assembly of blender components. Ensuring tight connections can prevent potential spills. A survey showed that 40% of users reported leaks due to incorrect assembly. Familiarizing oneself with the user manual can foster better maintenance habits. Adding foam or rubber pads between the base and counter can also absorb vibrations. This simple technique can protect the blender from wear and tear, thus preventing leaks.
Lastly, regular cleanings reduce residue buildup that may compromise seals. A 2023 analysis indicated that blenders maintained with consistent cleaning cycles experience 50% fewer leaks. Users should pay close attention to the area where the blade attaches to the base. Addressing these factors creates a more reliable blending experience and promotes equipment longevity.
: Always unplug the blender first for safety.
Examine the base closely to identify screws or clips before proceeding.
Apply gentle force, but avoid excessive pressure to prevent breaking any parts.
A container helps prevent losing screws and avoids confusion during reassembly.
Food-safe silicone is effective for sealing minor cracks in gaskets.
Regularly inspect the gaskets and ensure tight assembly of components.
Measure the old gasket carefully to ensure you get the correct size.
Cleaning the blender regularly can reduce residue buildup and prevent leaks.
Adding foam or rubber pads between the base and counter can absorb vibrations.
Take pictures during disassembly to serve as a reference when putting it back together.
If you're wondering how to fix a leaking blender base, it's essential to first understand the common causes of such leaks. Often, issues arise from worn-out gaskets or improper assembly. Identifying the right tools for the repair is crucial, as it ensures you can effectively disassemble the blender base without damage.
Once you've gathered your tools, follow a step-by-step guide to take apart the blender safely. Focus on inspecting and replacing or sealing any damaged gaskets, as these are often the main culprits behind leaks. To prevent future leaks, adopt best practices in maintenance, such as regular inspections and careful handling of the blender. By taking these steps, you can successfully resolve the issue and prolong the life of your blender.
K-Mama Cook