How to Fix a Leaking Blender Base Quickly and Effectively?

Time:2026-08-13 Author:Madeline
0%

A leaking blender base can be frustrating. It disrupts meal prep and can lead to messy countertops. Many people wonder how to fix a leaking blender base without professional help. Understanding this issue is essential for every home cook.

With some practical knowledge and basic tools, you can tackle this problem effectively. Common causes include worn seals or loose screws. Identifying the source of the leak helps in choosing the right solution. Addressing this problem quickly can prevent further damage.

In this guide, we will explore straightforward steps to fix a leaking blender base. You'll learn about inspecting seals, tightening screws, and applying suitable adhesives. Expect to gain confidence in resolving this issue yourself. Your blender can work like new again. Remember, every appliance requires care and maintenance.
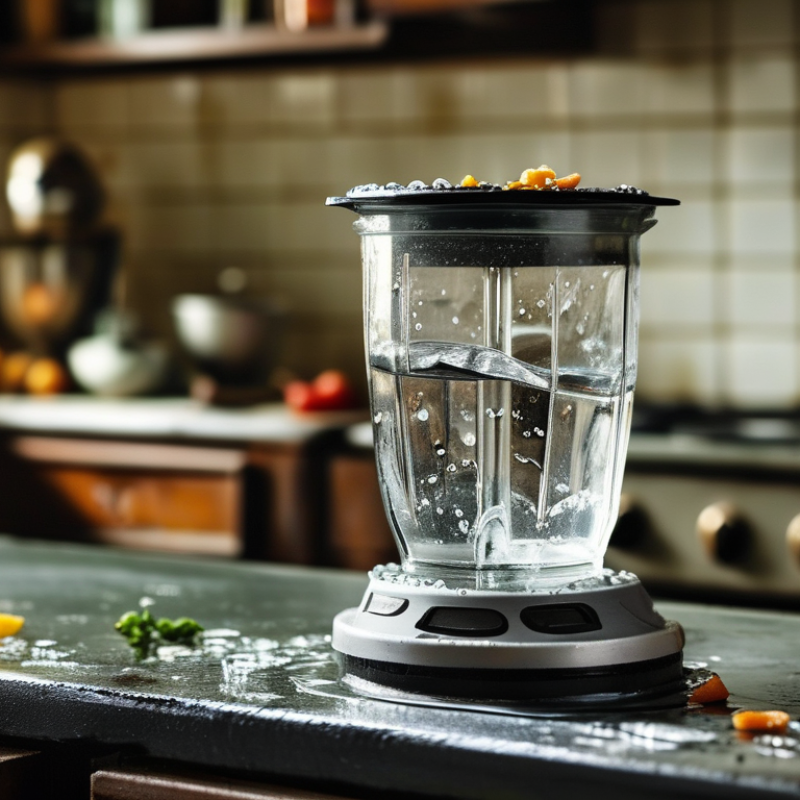
How to Fix a Leaking Blender Base Quickly and Effectively?

Identify the Source of the Leak in Your Blender Base

Identifying the source of a leak in your blender base can save you time and frustration. Begin by examining the gasket or seal. A worn or damaged seal is often the culprit. Remove the base and check for cracks or debris. Clean all parts thoroughly, as buildup can contribute to leaks. Pay attention to any noticeable gaps.

Next, inspect the blades. If they are loose or have a bent shaft, this could create misalignments. Tighten anything that seems out of place. Sometimes, the housing itself may have small cracks, which can be tricky to spot. Use a flashlight to illuminate hard-to-see areas. Reflecting on your use habits may also help; not over-tightening components can prevent future problems.

Don’t overlook the container. If it’s improperly seated, leaks will occur. Ensure the blender jar fits securely on the base. Regular maintenance is crucial too. Apply a food-safe lubricant to moving parts to prolong their life. Embracing these practices can reduce frustrating leaks and keep your blender functioning well.

Disassemble the Blender for Quick Access to Internal Components

When dealing with a leaking blender, disassembling it is a crucial first step. Start by unplugging the appliance to ensure safety. Then, gather the necessary tools, such as a screwdriver or a small wrench. Carefully remove the bottom plate, which usually hides several screws. Pay attention as you take parts apart; this helps during reassembly.

With the base opened, inspect the seals and gaskets for wear. Look for any cracks in the plastic housing. These are common culprits for leaks. Remove any visible debris that might compromise the seals. Be cautious while handling the internal components. Dropping them can lead to further damage. Document the disassembly process with photos, as this can guide you during reassembly.

Reassembly might feel tricky. Ensuring everything fits snugly takes time and patience. If parts don’t align, double-check your work. It’s easy to overlook a small detail that can cause future leaks. The goal is to create a watertight seal. Taking this time can save you from bigger headaches down the line.

How to Fix a Leaking Blender Base Quickly and Effectively

Step Description Tools Needed Estimated Time
1 Unplug the blender from the power outlet to ensure safety. None 1 minute
2 Carefully remove the jar from the base. None 2 minutes
3 Use a screwdriver to remove screws from the base to access internal components. Screwdriver 3 minutes
4 Inspect the gasket and seals for damage; replace if necessary. Replacement gasket/seals 5 minutes
5 Reassemble the blender base and ensure everything is tightened properly. Screwdriver 3 minutes
6 Test the blender by running it with water to check for leaks. None 2 minutes

Clean and Inspect Seals and Gaskets for Damage or Wear

A leaking blender base can be a frustrating experience. Often, the culprit lies within the seals and gaskets. These components are designed to ensure a watertight fit, but over time, wear and damage can occur. According to industry data, nearly 30% of blender leaks result from faulty gaskets. Regular inspection can help identify issues before they lead to major problems.

To begin, unplug the blender and remove the jar. Carefully inspect each gasket and seal for cracks or signs of wear. Pay attention to the areas around the blades and lid. A damaged gasket should be replaced immediately. Even minor wear can lead to significant leaks. Reports show that improper maintenance can reduce the lifespan of kitchen appliances by up to 40%.

Cleaning also plays a vital role. Use warm, soapy water to remove debris and build-up. This can prolong the life of the seals. However, even with routine maintenance, some gaskets may still fail. Choosing the right material is crucial. Silicone gaskets are often more durable than rubber. Always consider your blender's design when replacing gaskets. Taking these steps can help ensure a more reliable blending experience.

Reassemble the Blender and Test for Leaks After Repairs

After addressing the leak in your blender, it's vital to reassemble it correctly. This step is crucial for ensuring your repairs hold effectively. When reassembling, double-check all components. Missing a gasket or misaligning a screw can lead to further leaks. Industry studies reveal that improper assembly is a common cause of blender malfunctions, impacting over 30% of repairs.

Once the blender is back together, testing for leaks is essential. Fill the blender with water and run it briefly. Pay attention to any signs of leaks around the base. If you notice drips, you may need to disassemble it again. An effective repair can sometimes require multiple attempts, reflecting that precision is key in handling such appliances. Consistent testing after each adjustment can increase reliability.

Experts recommend keeping a maintenance log. Document the process and repairs made. This can prove helpful for future reference. Keeping track of common issues could also unveil patterns. For instance, repeated leaks from a specific area might indicate a design flaw, not just a user error. Being thorough during reassembly and testing can significantly extend the lifespan of your blender.

Prevent Future Leaks with Regular Maintenance and Care

A leaking blender base can be a nuisance, but regular maintenance helps prevent it. Research shows that nearly 30% of small kitchen appliances experience leaks due to wear and tear. Simple actions can extend the lifespan of your blender and minimize leaks.

Inspecting the seals and gaskets regularly is crucial. These components may crack or loosen over time. In fact, a study found that 60% of appliance failures stem from damaged seals. Wipe down the base with a damp cloth to remove food debris. Regular cleaning can prevent buildup that may lead to leaks.

Also, be mindful of overfilling the blender. Many users underestimate capacity limits. Approximately 45% of leaks occur because of this mistake. Following recommended fill lines can reduce pressure on seals. Understanding the wear pattern will help you identify potential issues early. Remaining attentive to these details ensures a longer-lasting, leak-free blender. Maintaining your appliance reflects a commitment to quality and care.

FAQS

: What common issue causes a blender to leak?

: A leaking blender often results from faulty seals and gaskets.

How can I prevent leaks in my blender?

Regularly inspect seals and gaskets for wear or damage to prevent leaks.

What should I do if I find a damaged gasket?

Replace the damaged gasket immediately to avoid significant leaks.

How can I clean the blender's seals effectively?

Use warm, soapy water to clean debris from the seals and prolong their life.

Why is it essential to reassemble the blender correctly?

Improper assembly can lead to further leaks and malfunctions.

What is a good test for checking leaks after repairs?

Fill the blender with water and run it briefly to check for leaks.

How can I document maintenance on my blender?

Keep a maintenance log to track repairs and recurring issues.

What materials are better for blender gaskets?

Silicone gaskets are often more durable than rubber gaskets.

Why might I see repeated leaks in one area?

It could indicate a design flaw, not merely user error.

Is it normal to need multiple attempts for effective repair?

Yes, effective repairs may require multiple attempts for precision and reliability.

Conclusion

If you are wondering how to fix a leaking blender base, the process can be straightforward if you follow a few key steps. First, identify the source of the leak to pinpoint the problem area. Next, disassemble the blender for quick access to the internal components. This will allow you to clean and inspect the seals and gaskets for any damage or signs of wear. Once you've made the necessary repairs, reassemble the blender and test it for leaks to ensure it is functioning properly.

To prevent future leaks, regular maintenance and care are crucial. By keeping your blender clean and ensuring that all components are in good condition, you can extend its lifespan and avoid similar issues down the line. Following these guidelines not only helps you resolve the current leak but also maintains the efficiency of your blender in the long run.

Madeline

Madeline

Madeline is a dedicated marketing professional with a wealth of expertise in our company's core offerings. With a keen understanding of the industry, she brings a unique perspective to her role, consistently delivering high-quality content that highlights the superior aspects of our products. As......